
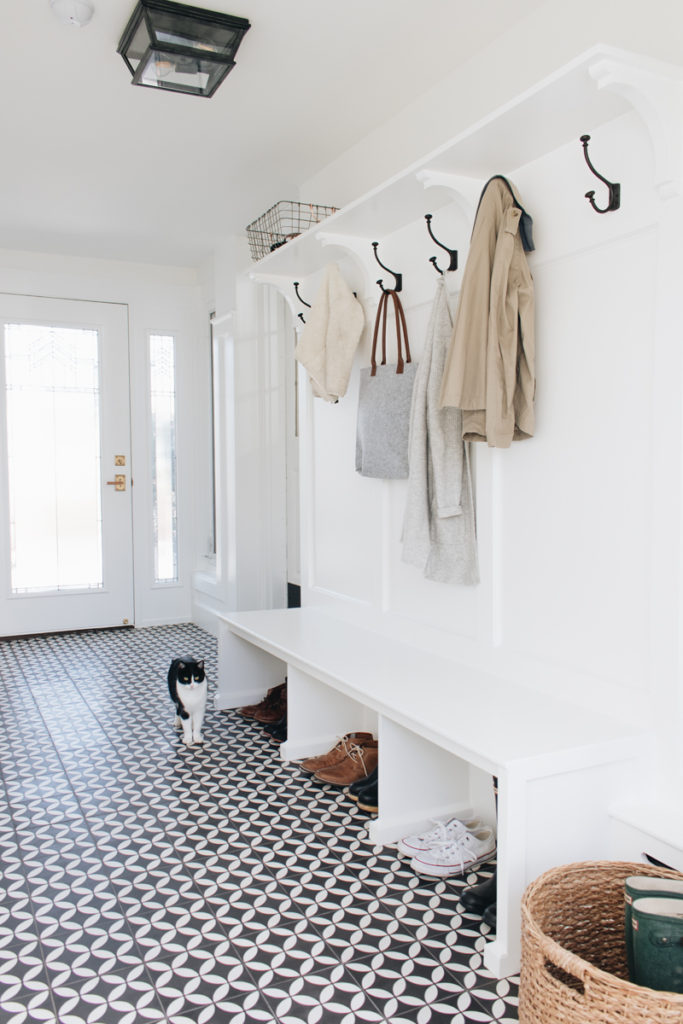
I thought I would finally share the before and afters of our mudroom renovation we did a few months ago. While I was shooting these pictures for this post Liam came outside and asked if he could take some photos of me sitting in here. I obliged, and now one of his shots is heading this post ;). Anyhow, it’s about time I start getting my goals accomplished since it is nearing the end of the year. In typical last minute fashion for me as one of my biggest goals for this year was to blog more and to have all of our home renovation before and afters up before the end of the year.. so I’m kind of hitting crunch time!
For as long as I can remember I have alllllllways wanted and dreamed of having a mudroom. Especially when we had all six kids living at home! Oh what a dream it would have been then… and it’s still a dream even though it’s a reality for me now! This room was the very first space I walked into when I knocked on the door to this home to inquire about purchasing it. I immediately fell in love with the fact that this home had a mudroom and started dreaming up visions pretty much right away of what I wanted to do with it! I knew I wanted it to not only look really great, but more than that I wanted it to function well for all of us.
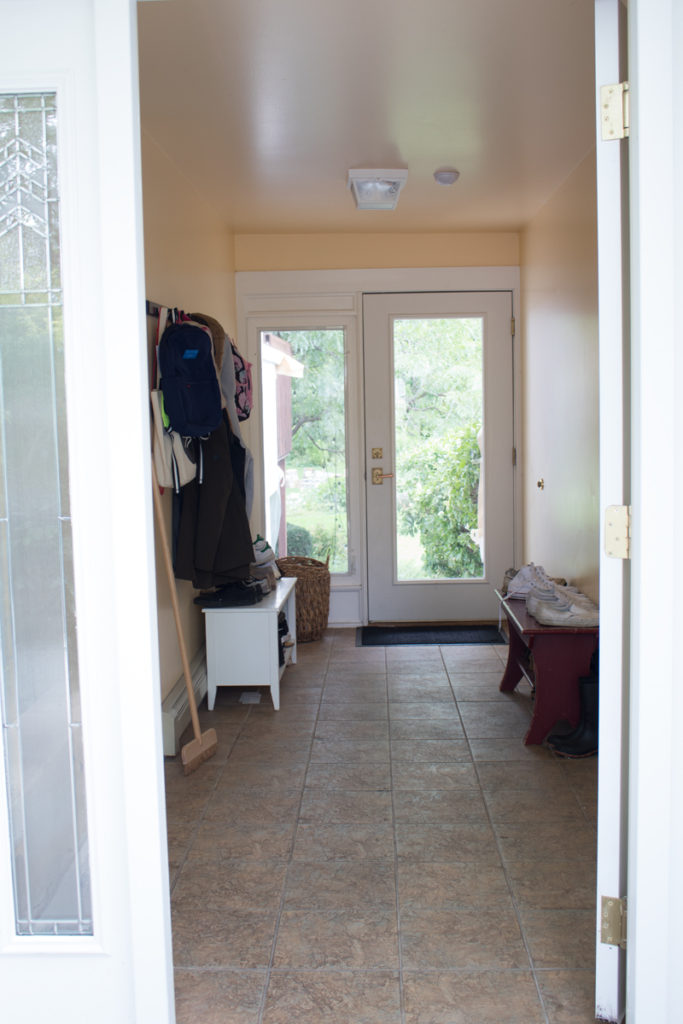
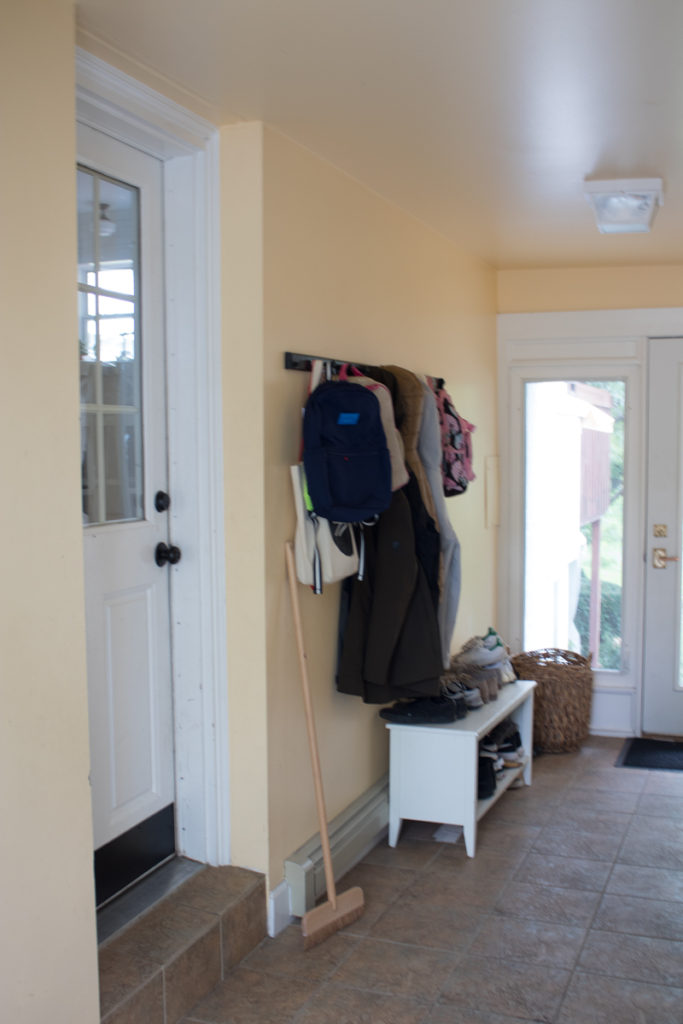
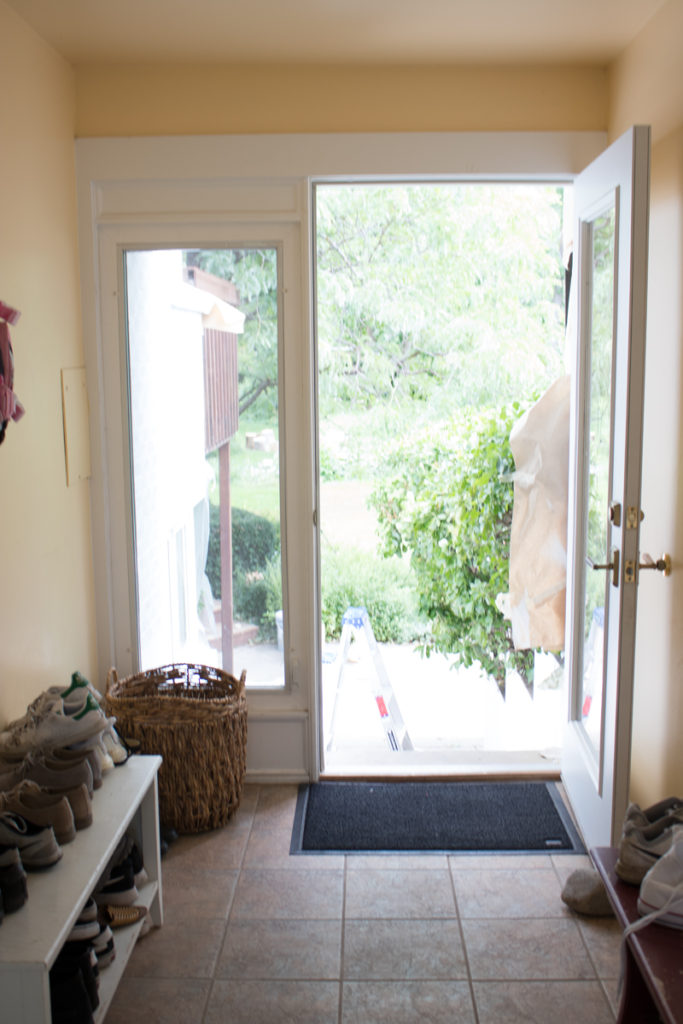
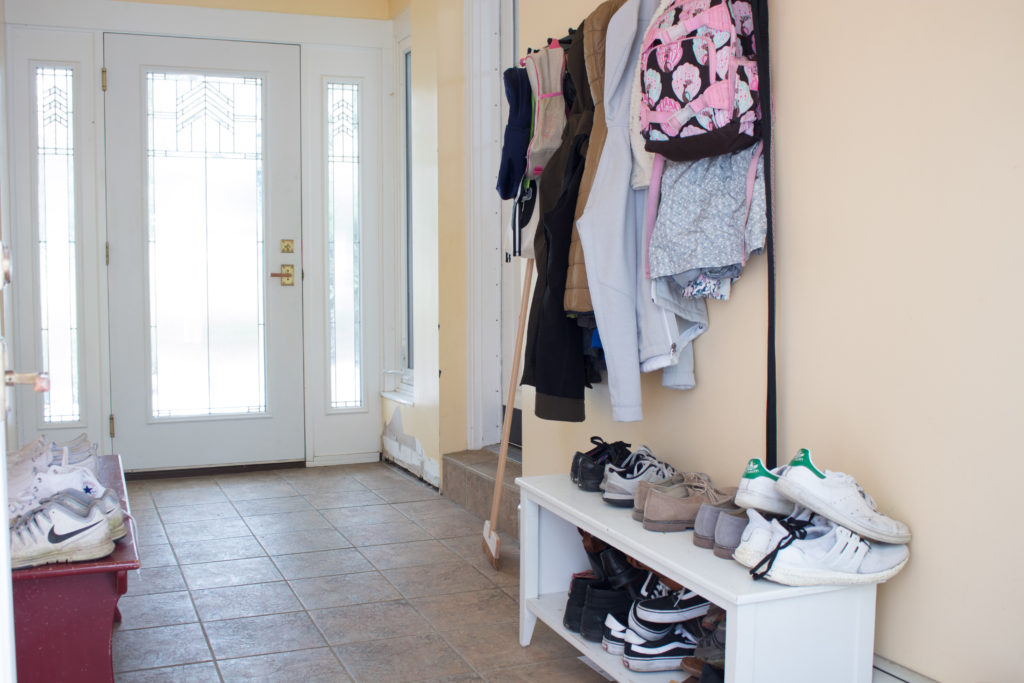
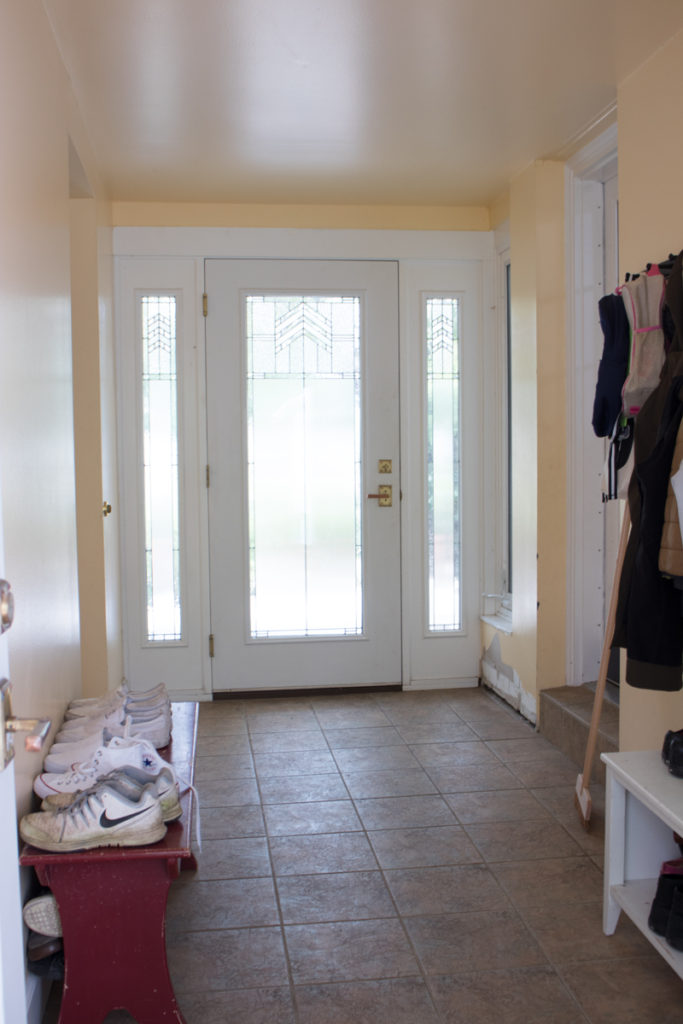
I was (and am) so grateful to have this space, but it really didn’t make me feel great anytime I stepped into it. It needed some good storage and a serious facelift. I could see it’s potential and knew it could be so much better than it appeared. So without further ado.. welcome to our new and much improved mudroom!
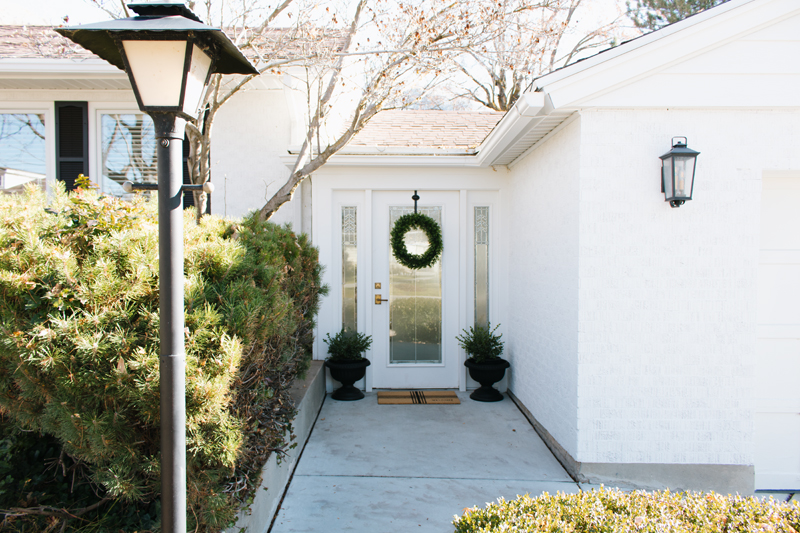
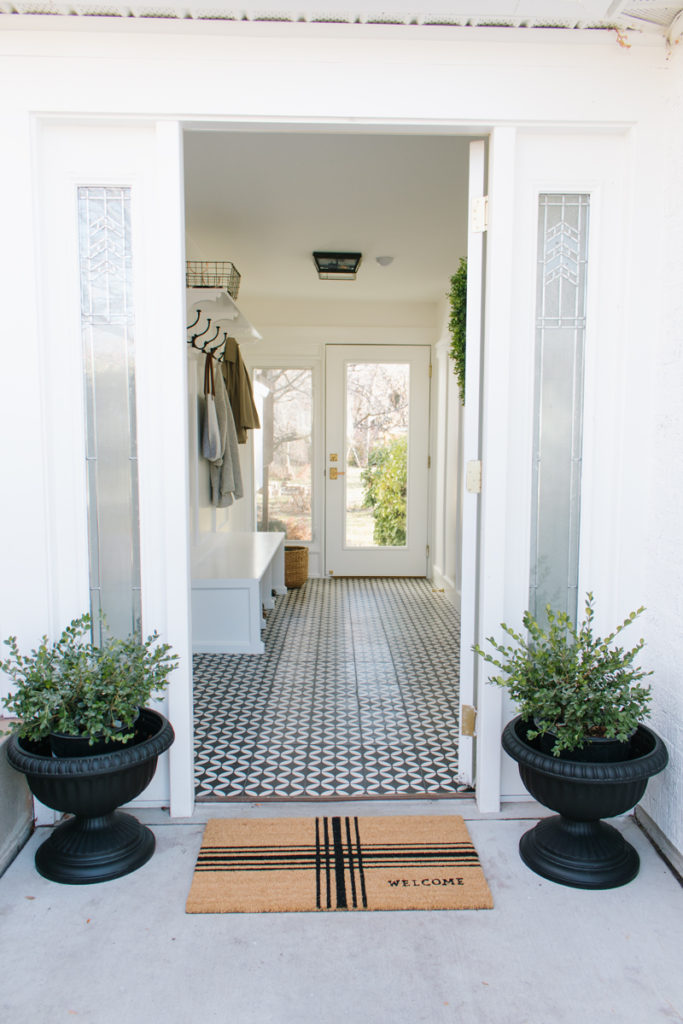
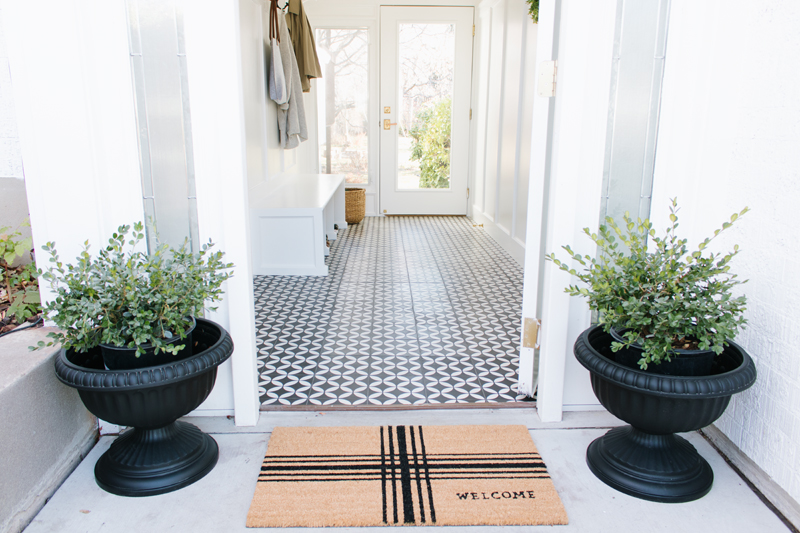
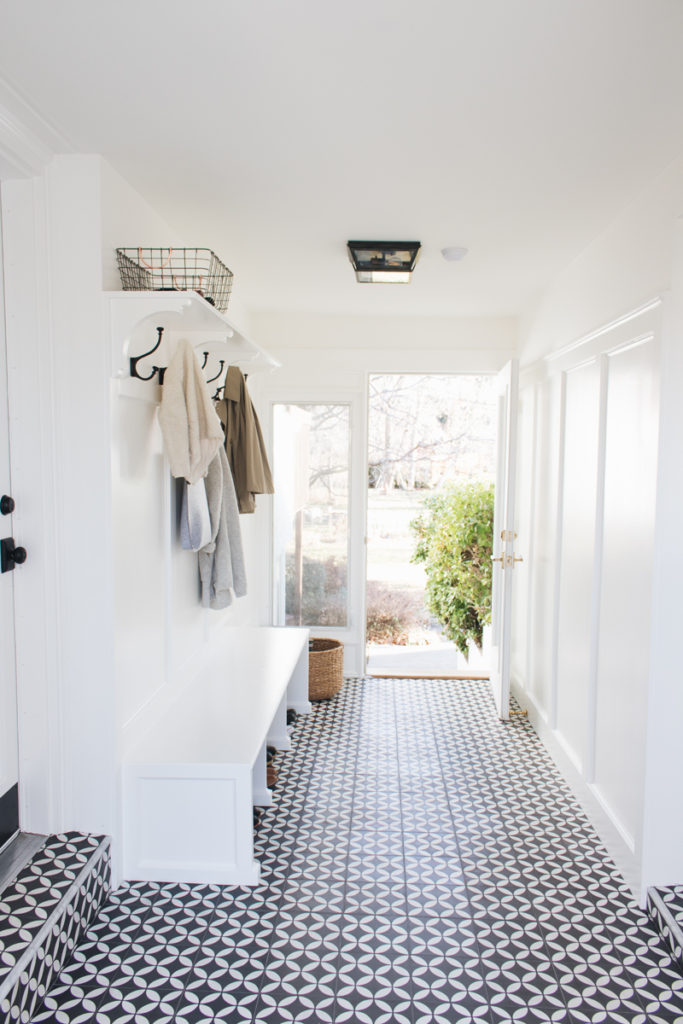
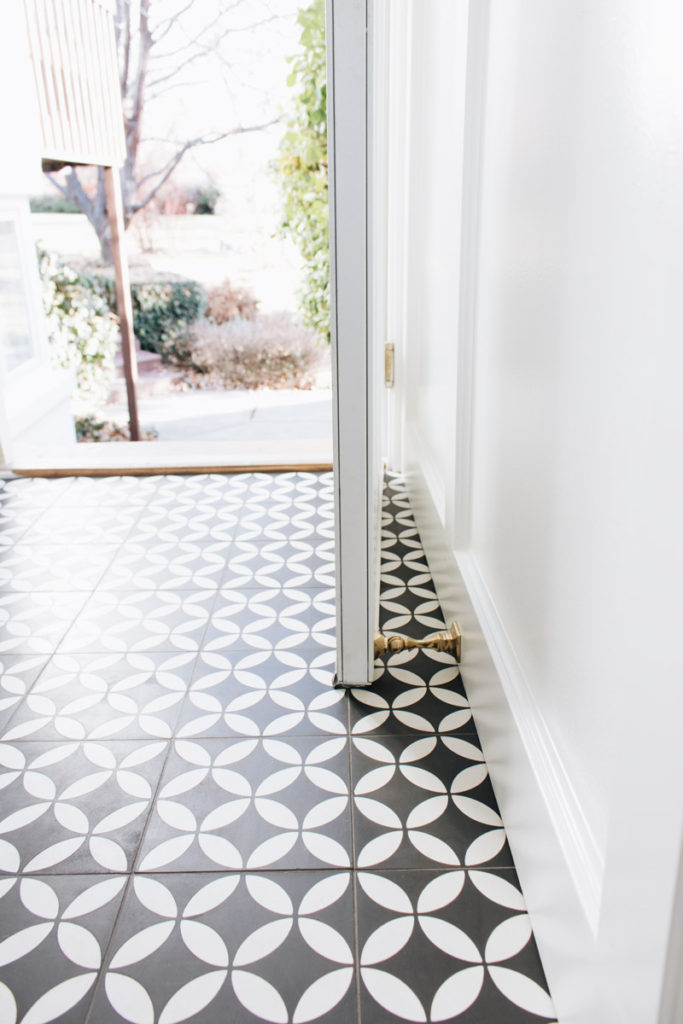
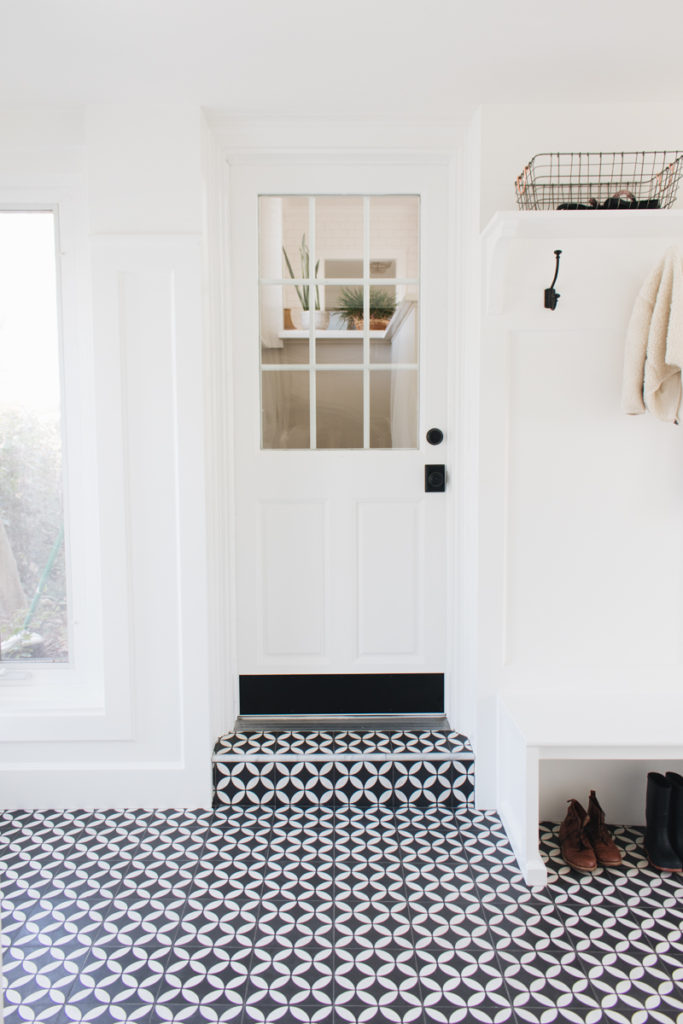
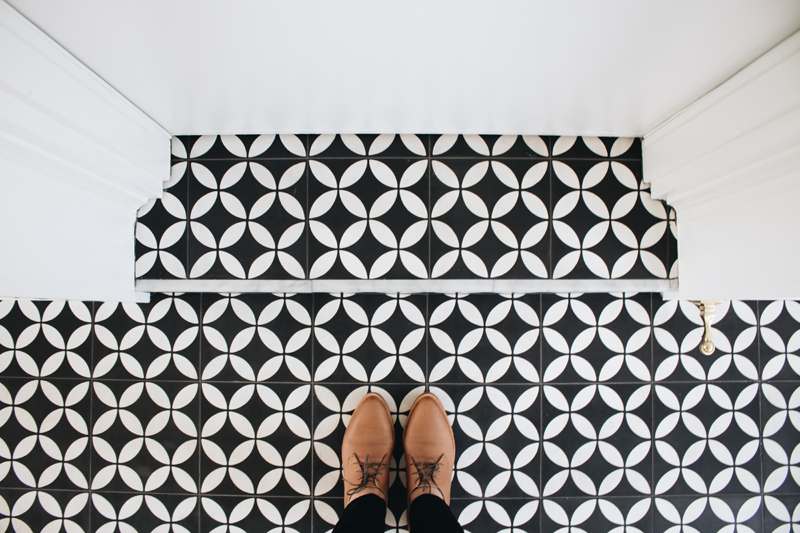
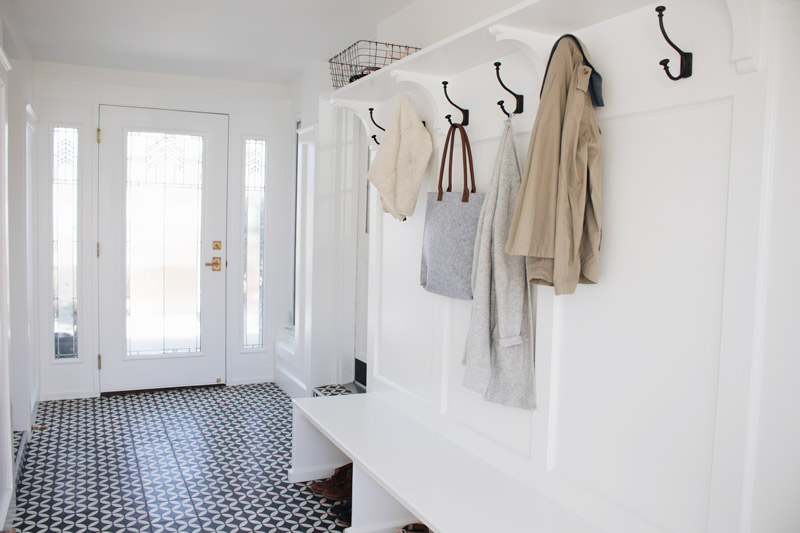
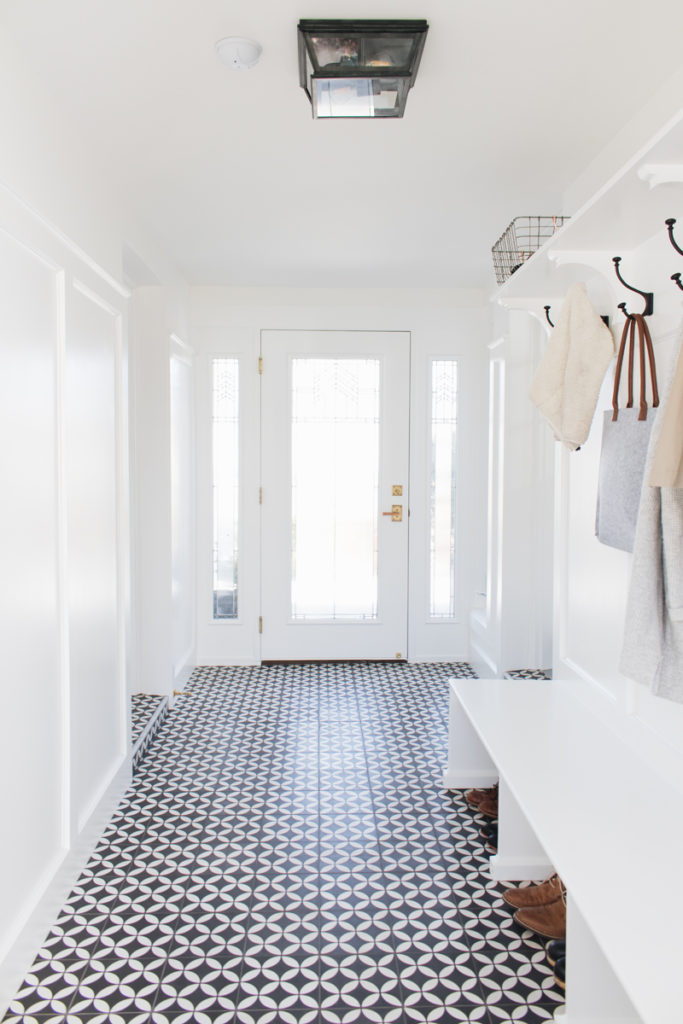
From the moment I set eyes on this cement tile pattern I knew it was what I wanted for our mudroom. It was definitely a splurge for us. But since this is the entry most of our friends + our kids friends use and as it’s also the main throughway to our backyard I really wanted it to represent our style and home. When I showed Will this tile he immediately agreed with me and we jumped. This was our first time ever using cement tile and boy did we learn a lot.
While handmade encaustic cement tile is truly stunning it is also a bit more, dare I say “a pain” to work with, install, and live with. Now let me back up a minute. I say a pain, but only in the sense of the learning curve. Once I realized that cement tile can be compared to marble for a countertop I knew we had made the right choice for us, for our home, and for our style. We LOVE marble. In fact everyone who has ever come into our homes contractor wise has always shunned marble and tried to get us to not install it in our home. But both Will and I love it. We love how timeless it is, how it ages, and how it feels + looks. Yes, it takes more work. Yes it can etch. And yes it wears and ages. But have you ever walked the streets of our nations capital and looked around you? There’s marble, marble everywhere. Marble that’s been there for hundreds of years and marble that still looks beautiful and has stood the test of time in both function and design. Whoa.. I just went off on a bit of a tangent, sorry about that!
With all of that said, cement tile has the same timeless, aging feel and look. It is and can be a bit more delicate (in the sense of chipping and wear) and does need some more prep work prior to installing (it needs several coats of sealer plus a grout release before grouting can be done), but no more than our forever favorite marble. For instance on our stairs our tile installer suggested we not butt the tiles up to each other edge to edge for fear of the tile chipping away. He suggested we use a pencil rail to buffer the edges of the tile and save it from chipping. And of course since our tile guy Glen knows us, our taste, and style in and out he showed up with a marble pencil rail one day and it couldn’t have been more perfect! It not only ties in the marble we carry throughout our home, but also serves it’s function of rounding the stair edge and saving the tiles from chipping!
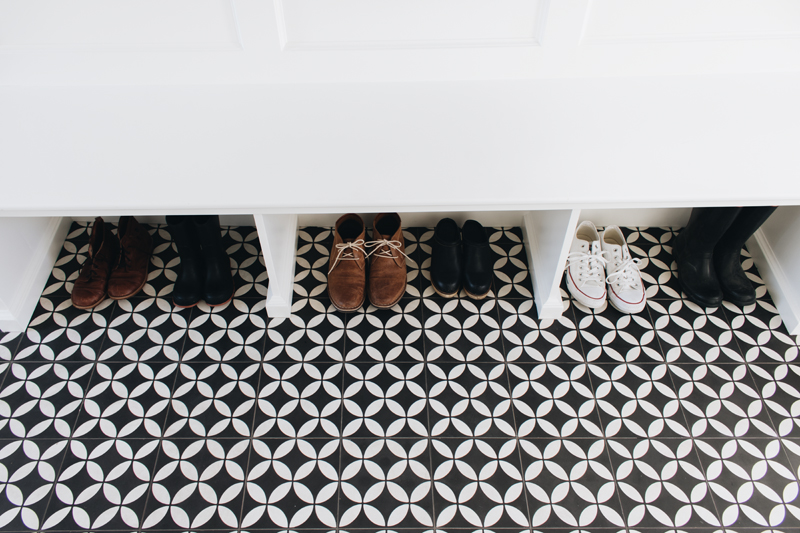
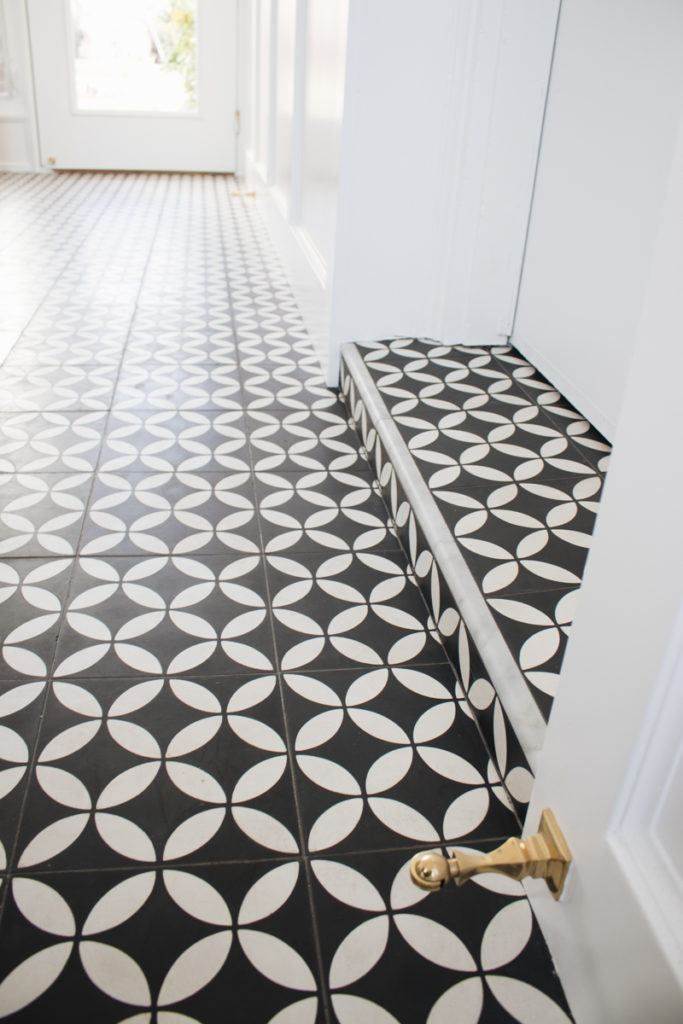
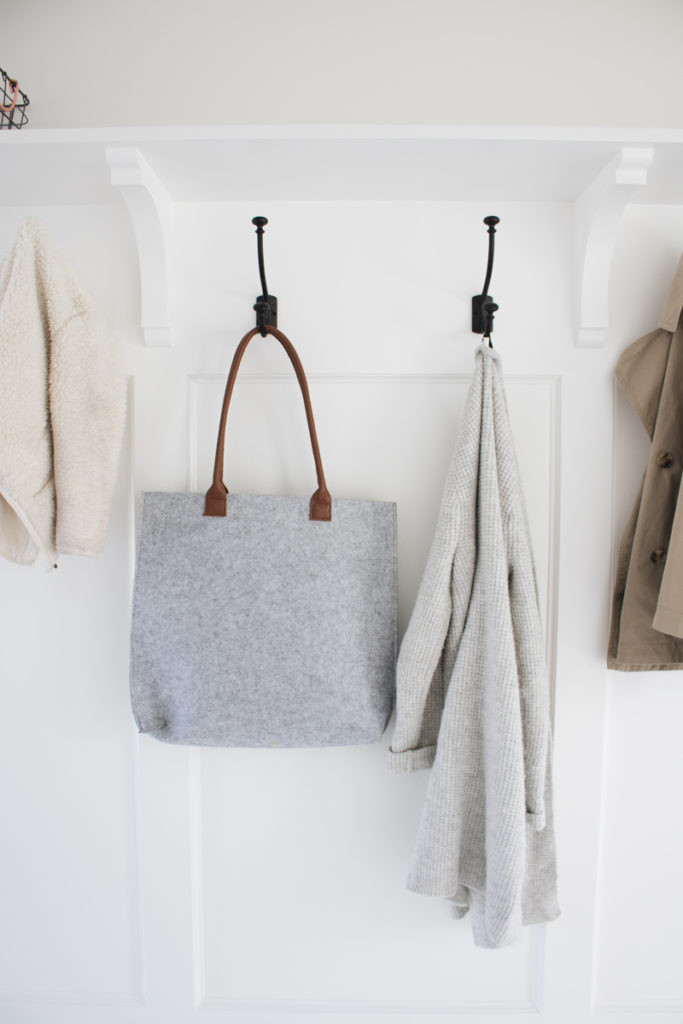
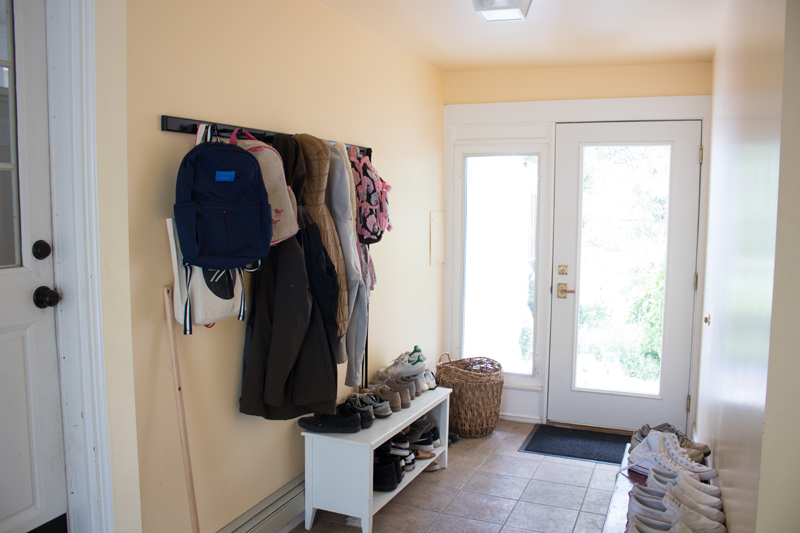
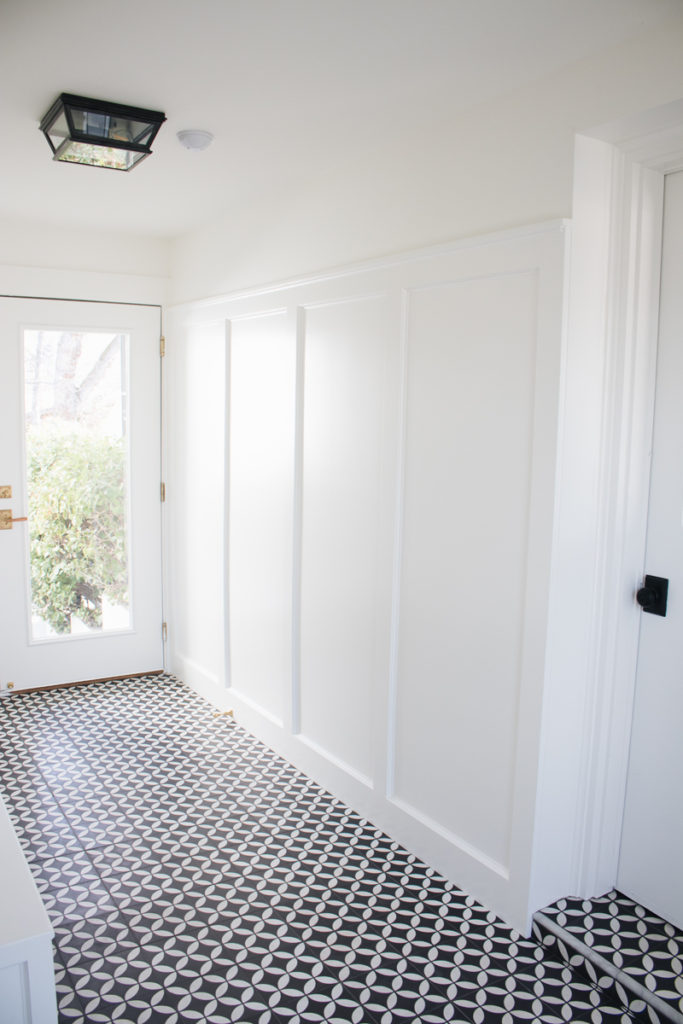
Here’s a few more before and afters from the same angles just because I love seeing them when others share theirs and it really helps you see the changes that were made so much better! And a huge shout out to our carpenter Mike who was able to take all of my crazy ideas and make every single one of them a reality in this space. He literally customized all of the woodwork in here from the extra moulding detail to the rounded but also slightly detailed corbels holding the shelf. Basically he pulled my visions of this space from my brain and made it happen in real life. Also, sources for everything we used from paint and grout color to the magnetic brass door stops are linked and shared below. Tell me do you like our mudroom before or after? Leave me a comment letting me know! xoxo, Miko
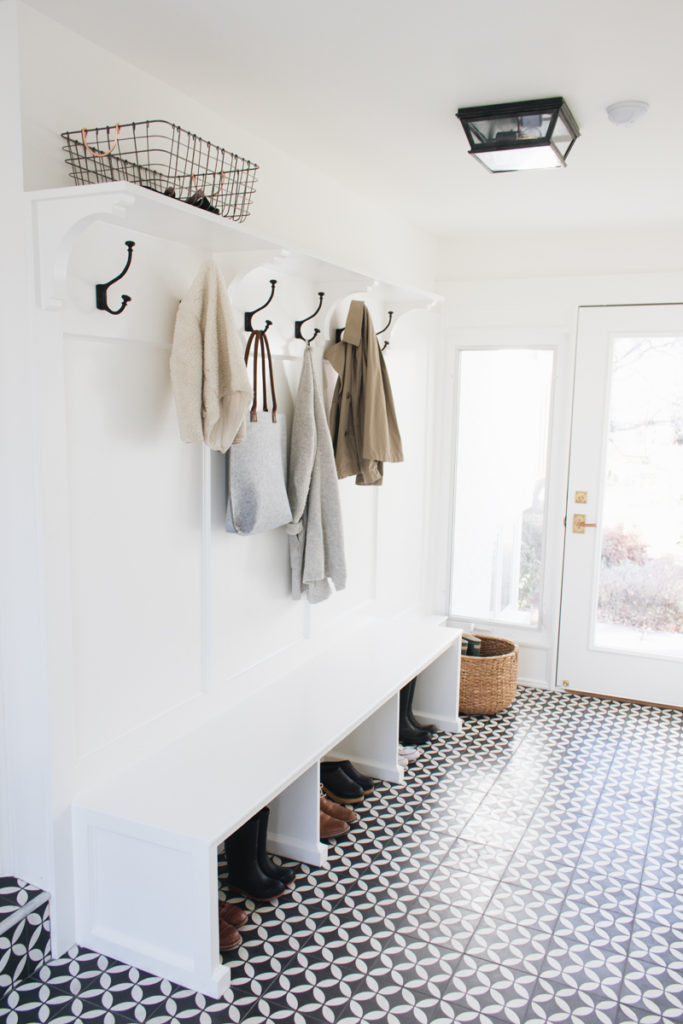

Sources: Tile // Grout // Marble Pencil Rail // Paint – Benjamin Moore Advance (Satin sheen on all trim and doors, Eggshell on the walls and Flat on the ceiling) // Doormat // Brass Door Stops // Coat Hooks // Ceiling Light // Round Wicker Basket
Custom Woodwork by: Mike McAuliffe
Painting by: Jose from Painter Bros of Davis & Weber County




Stunning! Simplicity at it’s finest!
I love it! How has it held up?
It’s held up beautifully! Thanks for asking!!